

Cozy Cottage Kitchen Transformation + Ideas
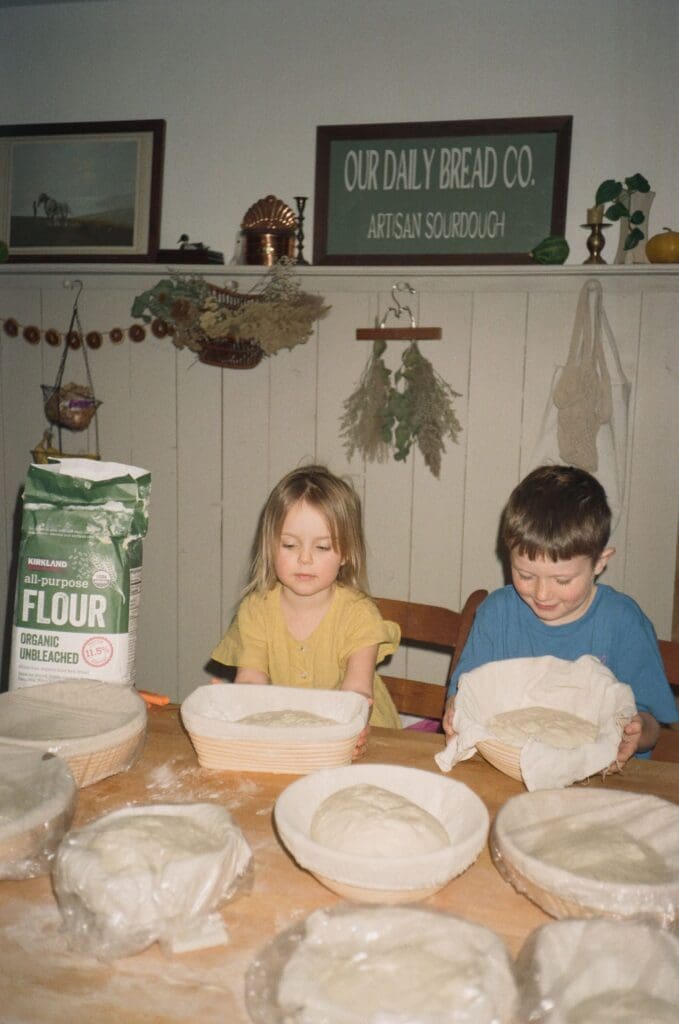
I am so excited to share with you all a labor of love that is my kitchen. The space I spend 80% of my day in and where I bake all of my sourdough bread for the farmers market. It is still very much a work in progress, however it has come so far and I could not be happier with how this space is turning out. In this post I will share with you some of the products I have used for my cottagecore kitchen transformation to create a space of meaning + functionality + intention.
A little background…
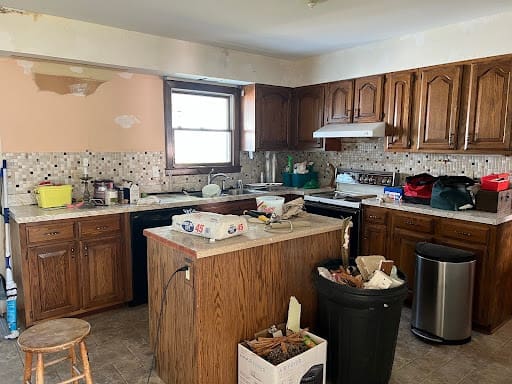
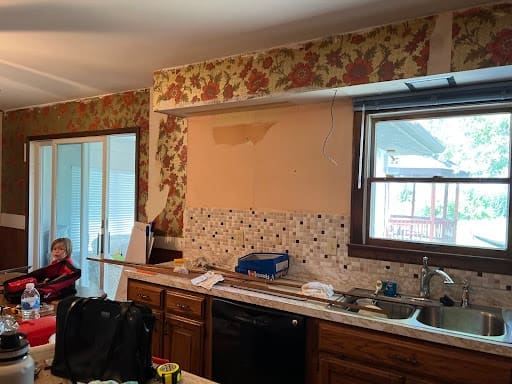
I purchased this home from a family member in November of 2022. Before that, it had been sitting for about 7 years, full of my great aunt and uncle’s belongings tucked into every nook and cranny. Let’s just say, it was quite a task to rummage through everything. Between MANY trips to the thrift store, a yard sale, and a 30 foot dumpster later, the house was cleaned out. Minus the hidden gems I happily kept for myself. Upstairs, I removed the carpet to discover beautiful hardwood floor underneath. The kitchen floor unfortunately did not have hard wood under it, so it got tiled. Every room was repainted. Two layers of wallpaper were removed in the kitchen. One entire wall between the living room and kitchen was removed. A new wall was built to divide my dining room from the basement stairs. You get the idea. Quick shout out to my dad and all his hard work in helping me renovate these things. Some things are still on hold of course, like adding new trim throughout the house and updating my kitchen sink and countertops. But saving up and having the time to sit on things actually has its benefits because it allows me to think through what I really want design wise and what will be most practical and cost efficient.
Kitchen Island
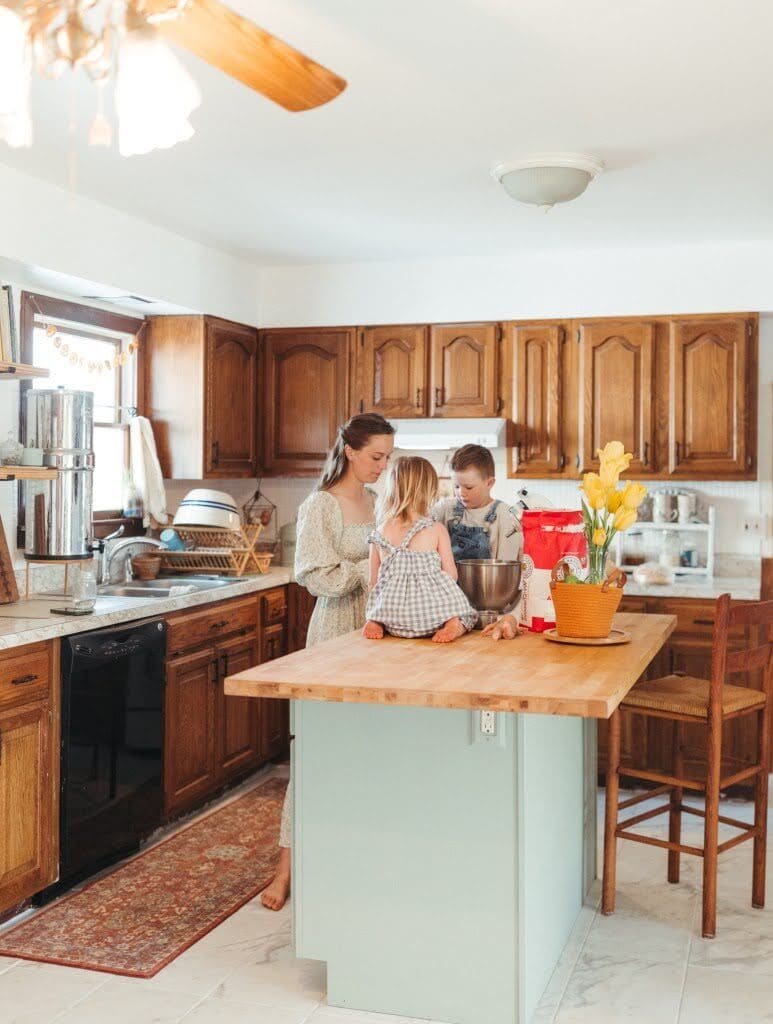
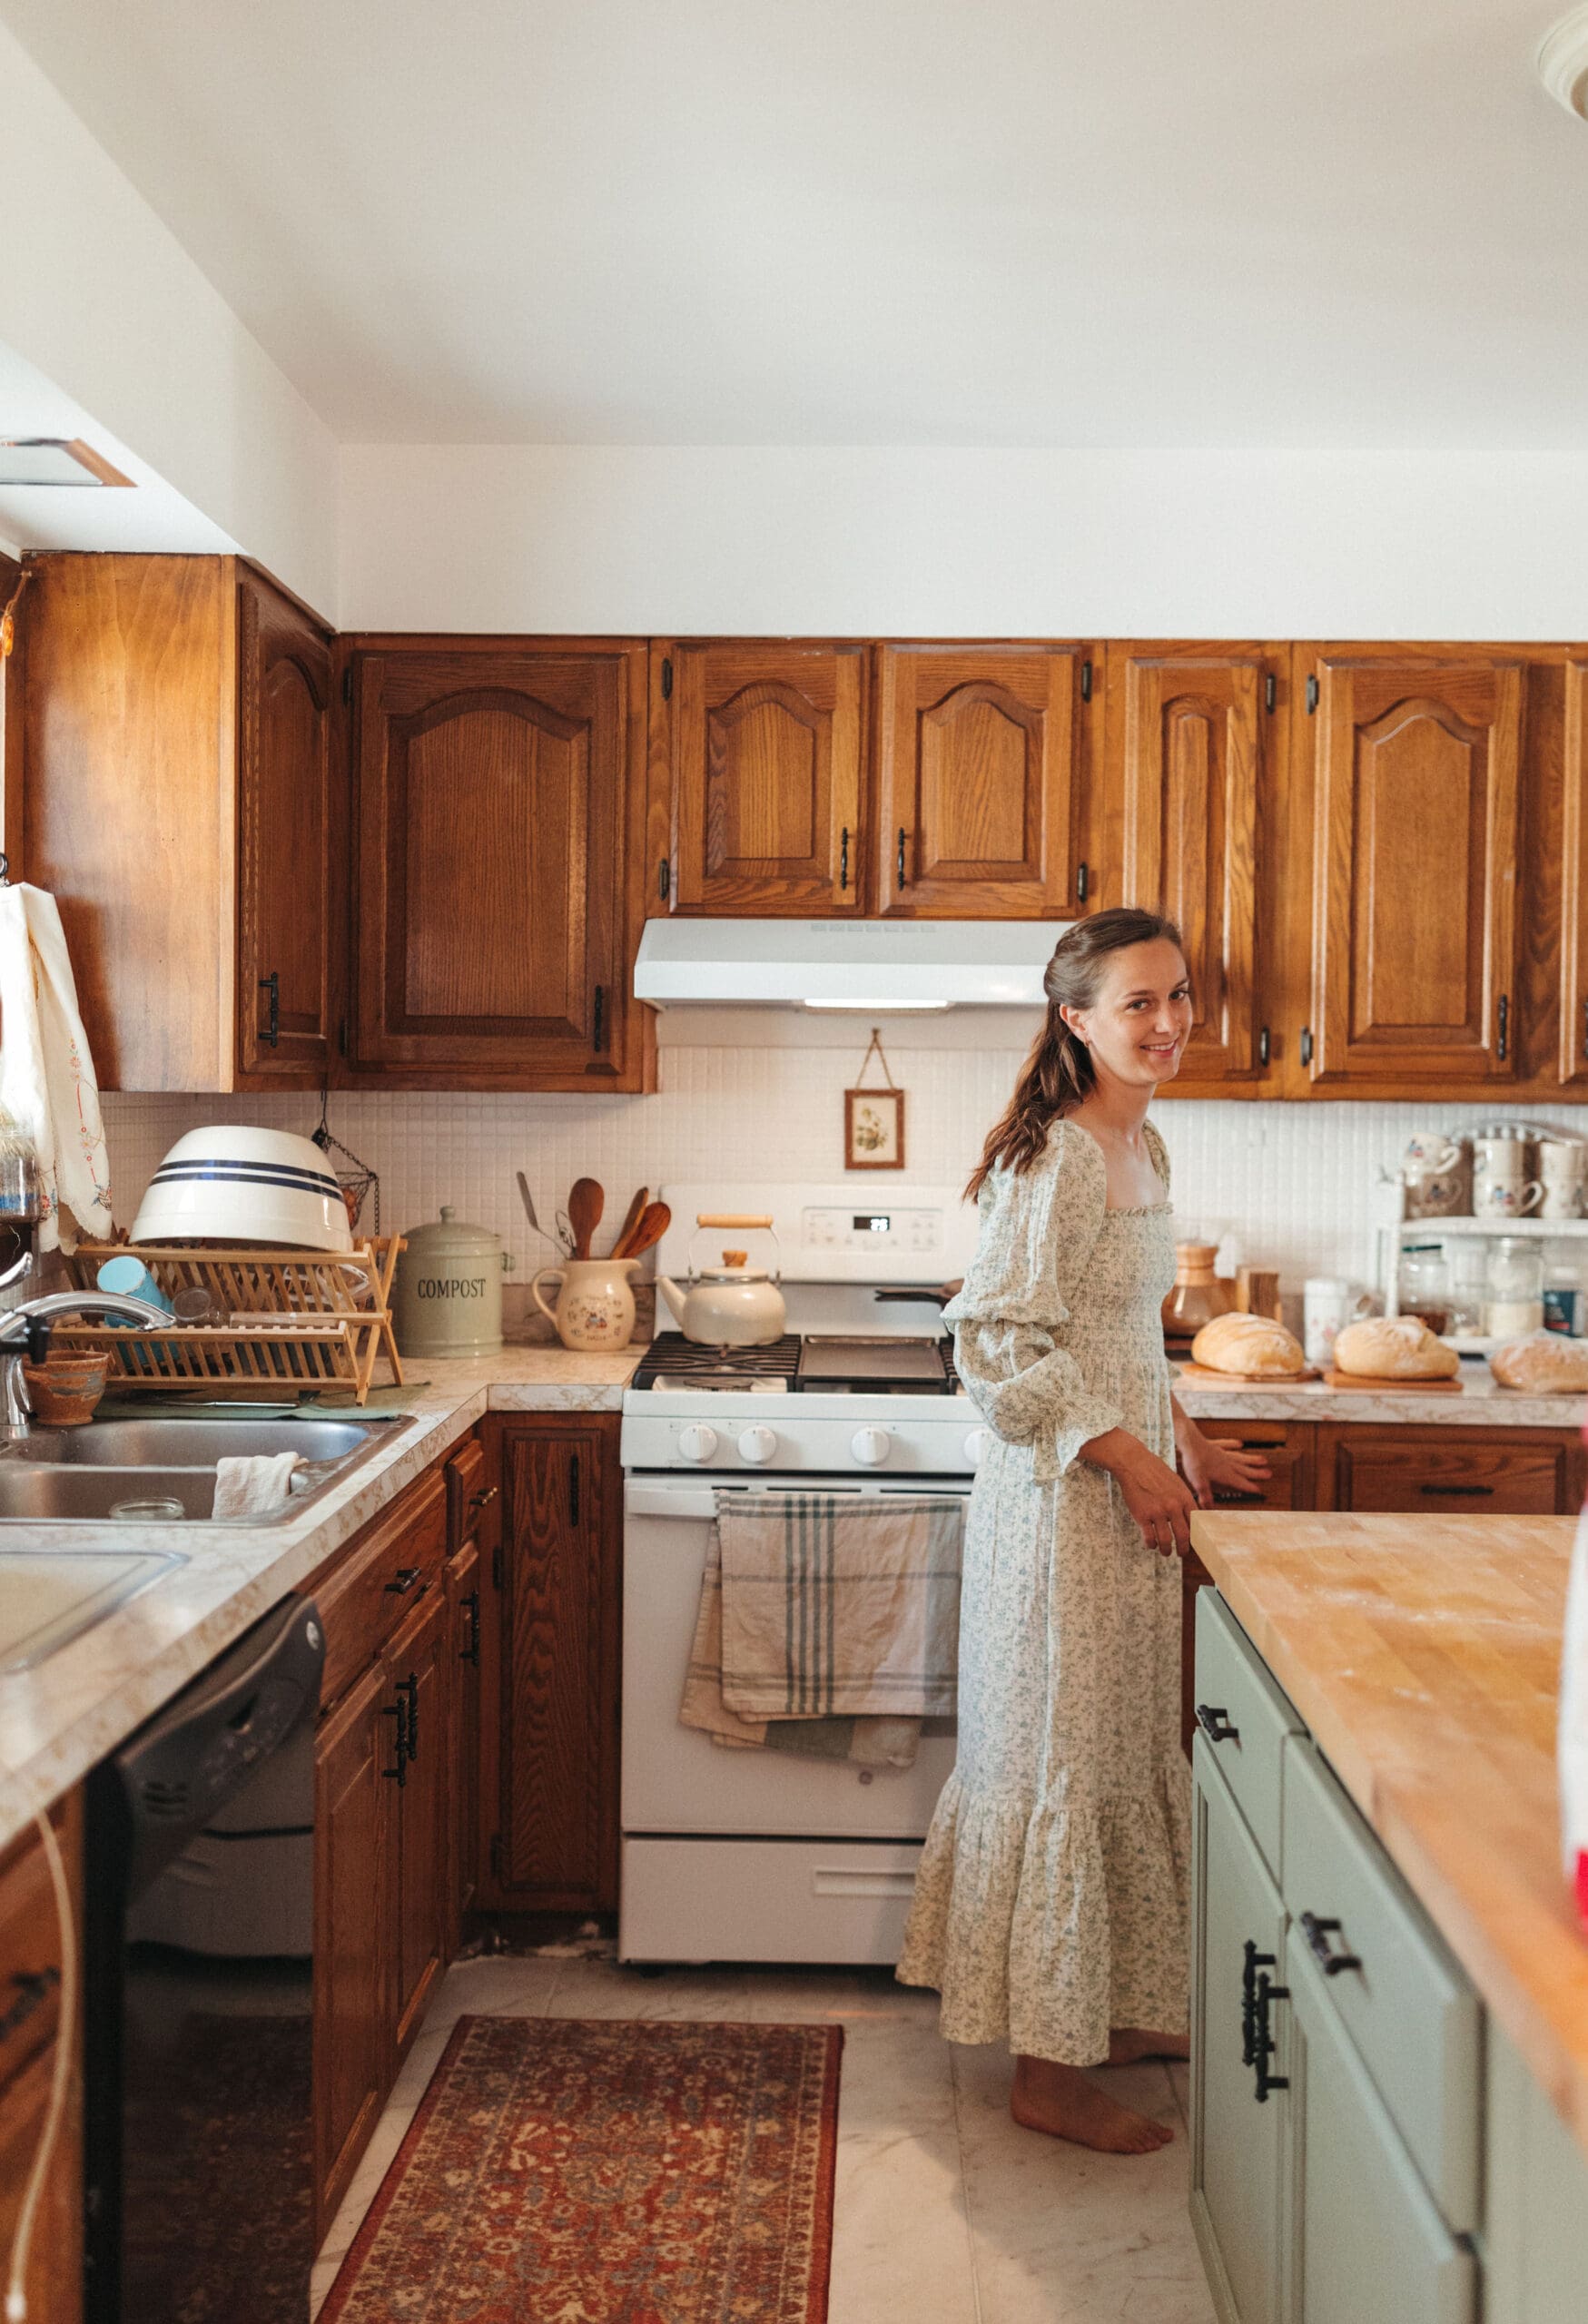
Let’s start with the kitchen island since it sits center of the kitchen. It is my most used workspace. As you can see in the pictures above, it was already here when we first moved in. To spruce it up, I painted it with the Rust-Oleum Cabinet Transformation Kit in tate green and replaced the countertop with a larger slab of butcher block from Hoods. I coated the butcher block with Tried and True Original Wood Finish because it is non-toxic and continue to do so every time it starts to look a little dull. Since my actual kitchen doesn’t have room for a table, I decided to add stools around the island and make use of the dining room table for family meals. The island has two outlets on either side making meal prep very convenient. I love the light wood color and how it matches my open shelving. I also spray painted the cabinet handles black.
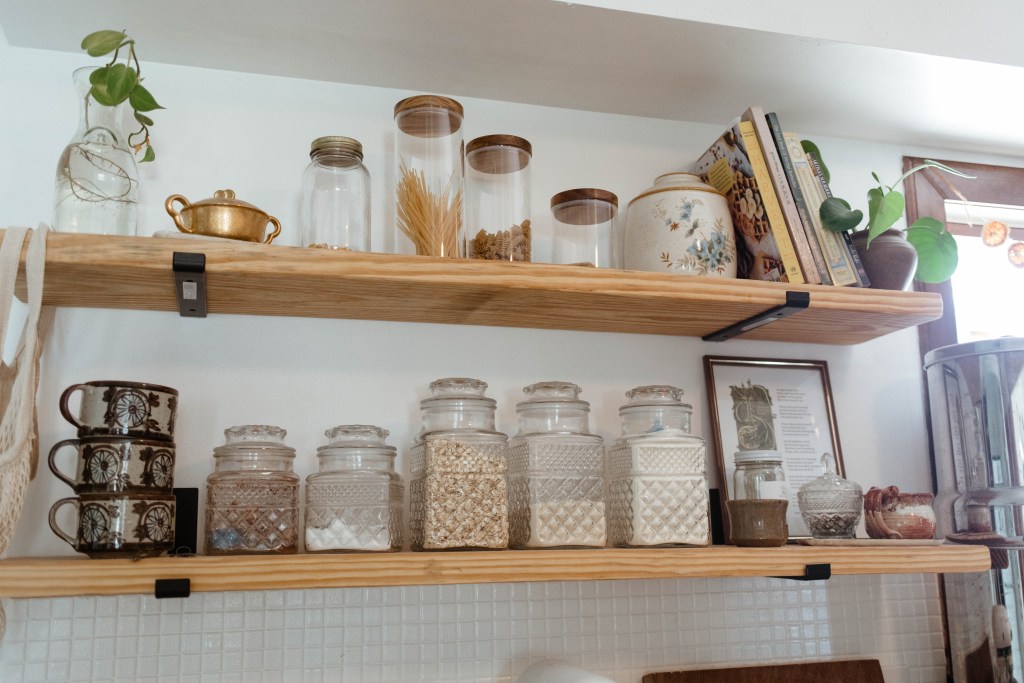
Open Shelving
I have always known I wanted open shelving in my kitchen. Not only are they beautiful, but they are very practical and convenient. When I am baking or making smoothies, I simply reach right above me and grab what I need. The beautiful collection of glass containers pictured on the lower shelf were left in the home, so I happily put them to use. I have in each container things I regularly use while baking: collagen, sugar, salt, oats, and cacao. My mixer sits right below my shelves so I can quickly add the ingredients without having to walk back and forth from the pantry. I also love that open shelving forces you to have things in your kitchen you truly love and are aesthetically pleasing. Plants and greenery go without question for me in every room. I have some special mugs sitting up there, a beautiful poem my friend wrote, and other pieces that hold fond memories of people in my life. Pro tip: Have dishes/mugs/plates etc. that are not only useful for food and drinks, but are works of art. That way you don’t need much else in the decor department for your kitchen other than things that actually serve a purpose.
Accent Wall
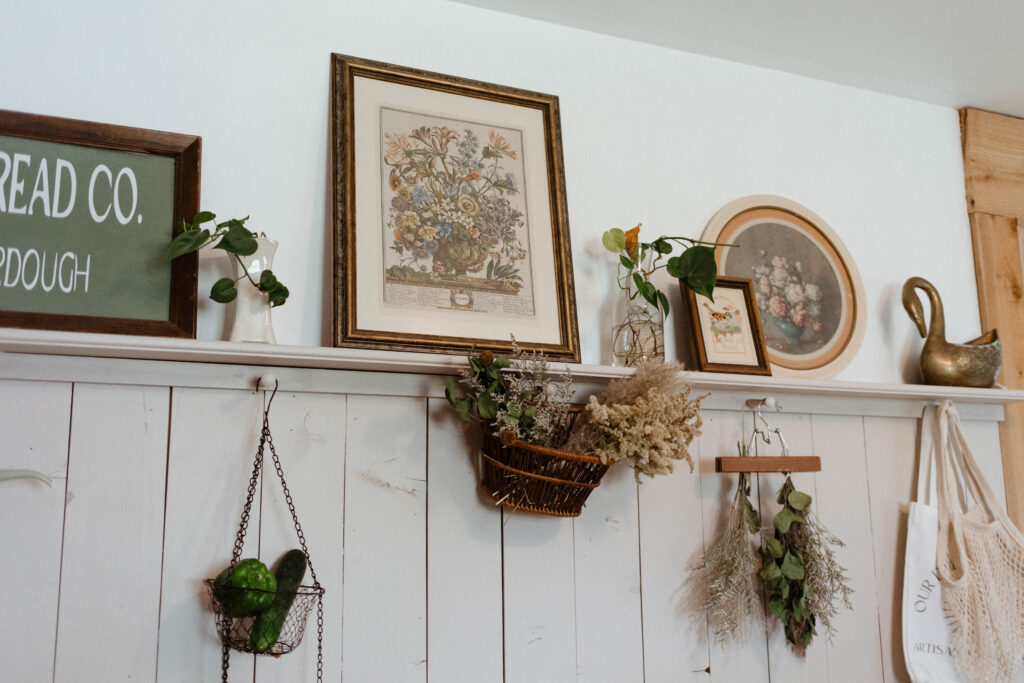
Once we opened up the kitchen to the living room, I knew this section of wall that was left would be perfect for an accent wall with a shelf and pegs. Fortunately, I repurposed the boards from the basement and the shelf from another room in the house. I simply sanded and repainted the boards using Behr ultra paint in gravelstone from Home Depot. I use the pegs for my reusable grocery bags, a wire basket for holding fruit or veggies, and for drying flowers/herbs. The pictures displayed here were all thrifted/antique finds. Again, pieces that truly spark joy and hold fond memories of antiquing adventures. I love that this shelf is constantly changing as I find new things or add plants I want to propagate. Like the open shelves, I try to keep it practical and functional versus only for aesthetic purposes.
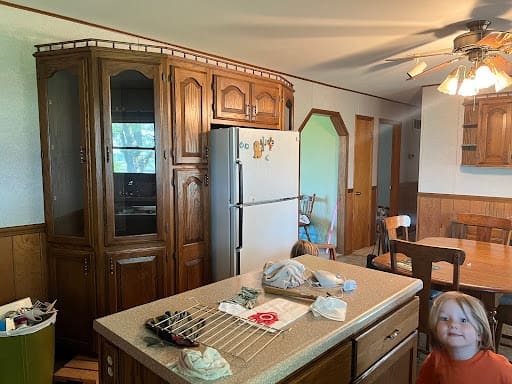
Cabinets Around Fridge
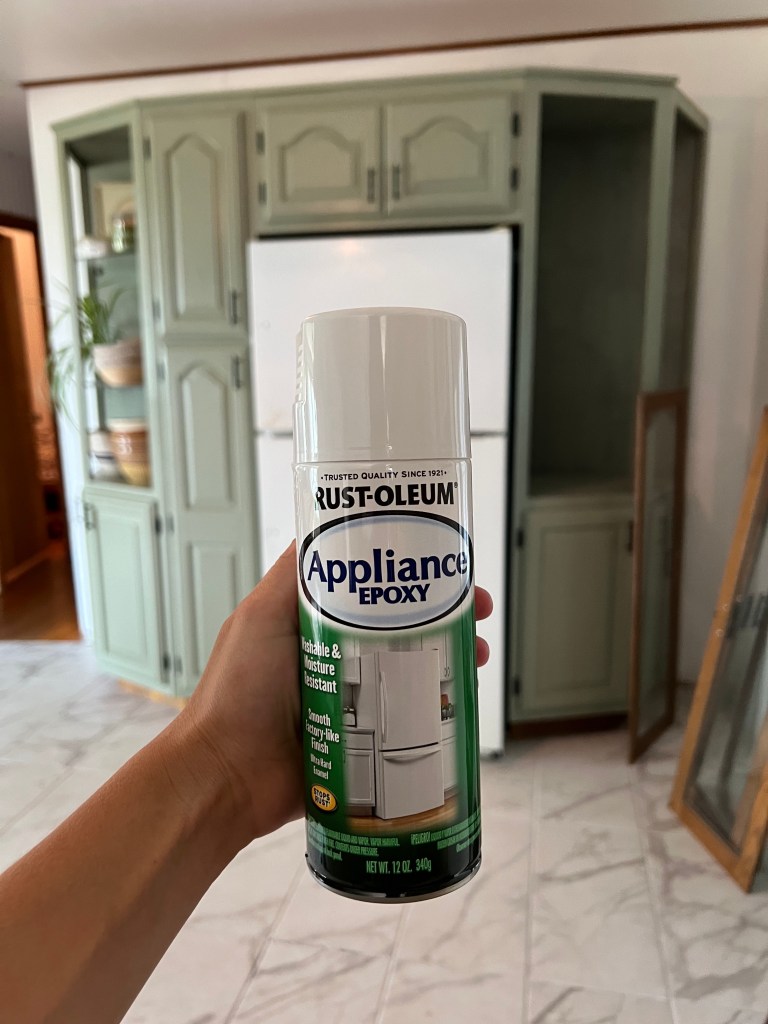
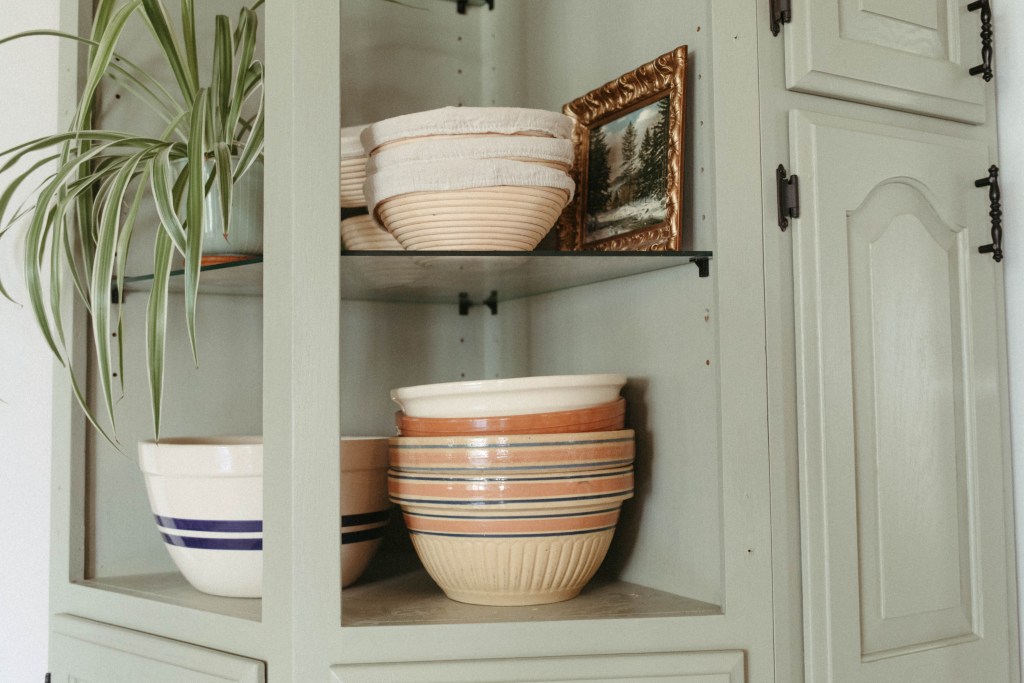
The cabinets that fit around the refrigerator were originally on the wall that we opened up. On the wall they are currently on, was a whole other built in desk and upper cabinet set. Let’s just say, the kitchen was crammed and did not allow for much walking space. Once moved over, I repainted it the same tate green color as the island. The fridge was very outdated, so I simply gave it a fresh coat of white paint on the front using Rust-Oleum appliance epoxy and sprayed the handles black. It still looks a bit outdated but nonetheless looks cleaner and brighter. I still plan to bust the display glass that is in the cabinet doors out and to replace it with cane backing. I don’t mind the look of keeping the shelves open, but they are collecting a lot of dust without the doors on them. One of my favorite kitchen items are my mixing bowls. Beautiful stoneware dishes are hard to come by and one thing I always keep an eye out for at thrift stores because they are not typically cheap. They have so much character and vintage charm to them.
Backsplash
As you can see in the original pictures of the kitchen, the backsplash was various colors of brown, tan, and cream colors. It was real tile, so I hated to attempt to remove it and preferred not to use a peel and stick option. So I painted it using the Rust-Oleum Tub and Tile Refinishing Kit (gloss white) and it went on very well. The paint went on thick and I applied it with a roller and then used a brush for the smaller spaces and the cracks. Most of the tiles were more of a rough texture (minus the dark brown ones), so the paint adhered to it well. After 9 months it has held up really well and is easy to wipe clean. For the little cost and time it took to paint it, it REALLY transformed the look of the kitchen.
A Work in Progress
There is of course a handful of things I am anxiously waiting to redo in my kitchen. For example, I would love to replace the outdated kitchen counters with more butcher block. I would also love a deep, white farmhouse sink with a black faucet. I would also like to add a more unique light fixture above the island. But like they say, all good things take time. Patiently waiting makes it all the more sweet when things come to fruition.
I hope sharing my cottagecore kitchen transformation leaves you feeling encouraged and inspired to create a kitchen space of your own you love and enjoy spending time in. Take it one step at a time, and before you know it you will look back appreciate the love and intention put into creating a space of your dreams.

Hi, this is a comment.
To get started with moderating, editing, and deleting comments, please visit the Comments screen in the dashboard.
Commenter avatars come from Gravatar.